
"This post may contain affiliate links and I'll earn a small commission if you shop through them. This is how we help to make money so we can continue to bring you amazing content"
SERIES FIVE- Binding and Finishing
The fifth and final step in this quilting for beginners series is binding and finishing your quilt. Binding is basically fabric that will cover the raw edges of your quilt to give it a nice finished look. This tutorial will be machine binding, not hand-stitched binding.
If this is your first time here check out these series first:
PART ONE – Planning
PART TWO – Cutting Fabric
PART THREE – Assembling Quilt Top
PART FOUR – Basting and Quilting
Calculating Binding
Determine Perimeter
We’ll need to determine the perimeter of the quilt, but first you’ll need to tidy up the edges of the quilt by trimming the backing and batting to be the same size as the front of the quilt. Now if you’re following this tutorial, I actually had intended on using the backing as my binding, but I messed it up and couldn’t follow along with that idea. So I had quite a bit of fabric to cut off.
After cutting the batting and back to the same size as the quilt top, take a measurement of the width of the quilt and one of the length of your quilt. Multiply each measurement by 2 (because you have two sides) and add them up. For example – My width was 99″ and my length was 107. 99×2 is 198″ and my length of 107×2 is 214″. I’ll add the 198″ + 214″ and come up with 412″. 412″ is my perimeter quilt size. You’ll want to add about 10″ to this to allow for corners and sewing strips together. 412″ + 10″ is 422″; therefore my quilt binding will need to be 422″ long.
How many strips?
Next you’ll determine how many strips you need. I have a piece of fabric that I have left over so I’ll calculate that. First I determine how long the fabric is. Mine scrap fabric piece is about 111″ long, but I just say 109″ to give a little extra room. So take the perimeter you figured up previously (422″) and divide it by your length of fabric. 422″ / 109″. I need 3.87 strips (just round to 4). To make sure I have enough fabric to cut 4 strips out of this small scrap piece, I measure how tall this piece of fabric is. It’s about 18″. Next I’ll divide 18″ by my binding strip size, which I am using 3″. this tells me I can get 6 strips from this fabric. I don’t need 6 strips, but now I know that I have enough fabric.

Cutting & Sewing Strips Together
After you’ve determined how many and how long the strips need to be, you’ll need to cut your strips and sew them all together to make one long continuous piece. These pieces won’t be joined together using a straight edge like you did with the quilt top, because this causes too much bulk in this small binding fabric. We’ll be sewing these strips together using a 45 degree angle.

To do this easily, you’ll place one of your binding strips face side up, and lay another binding strip face side down, creating like a T shape per picture below.

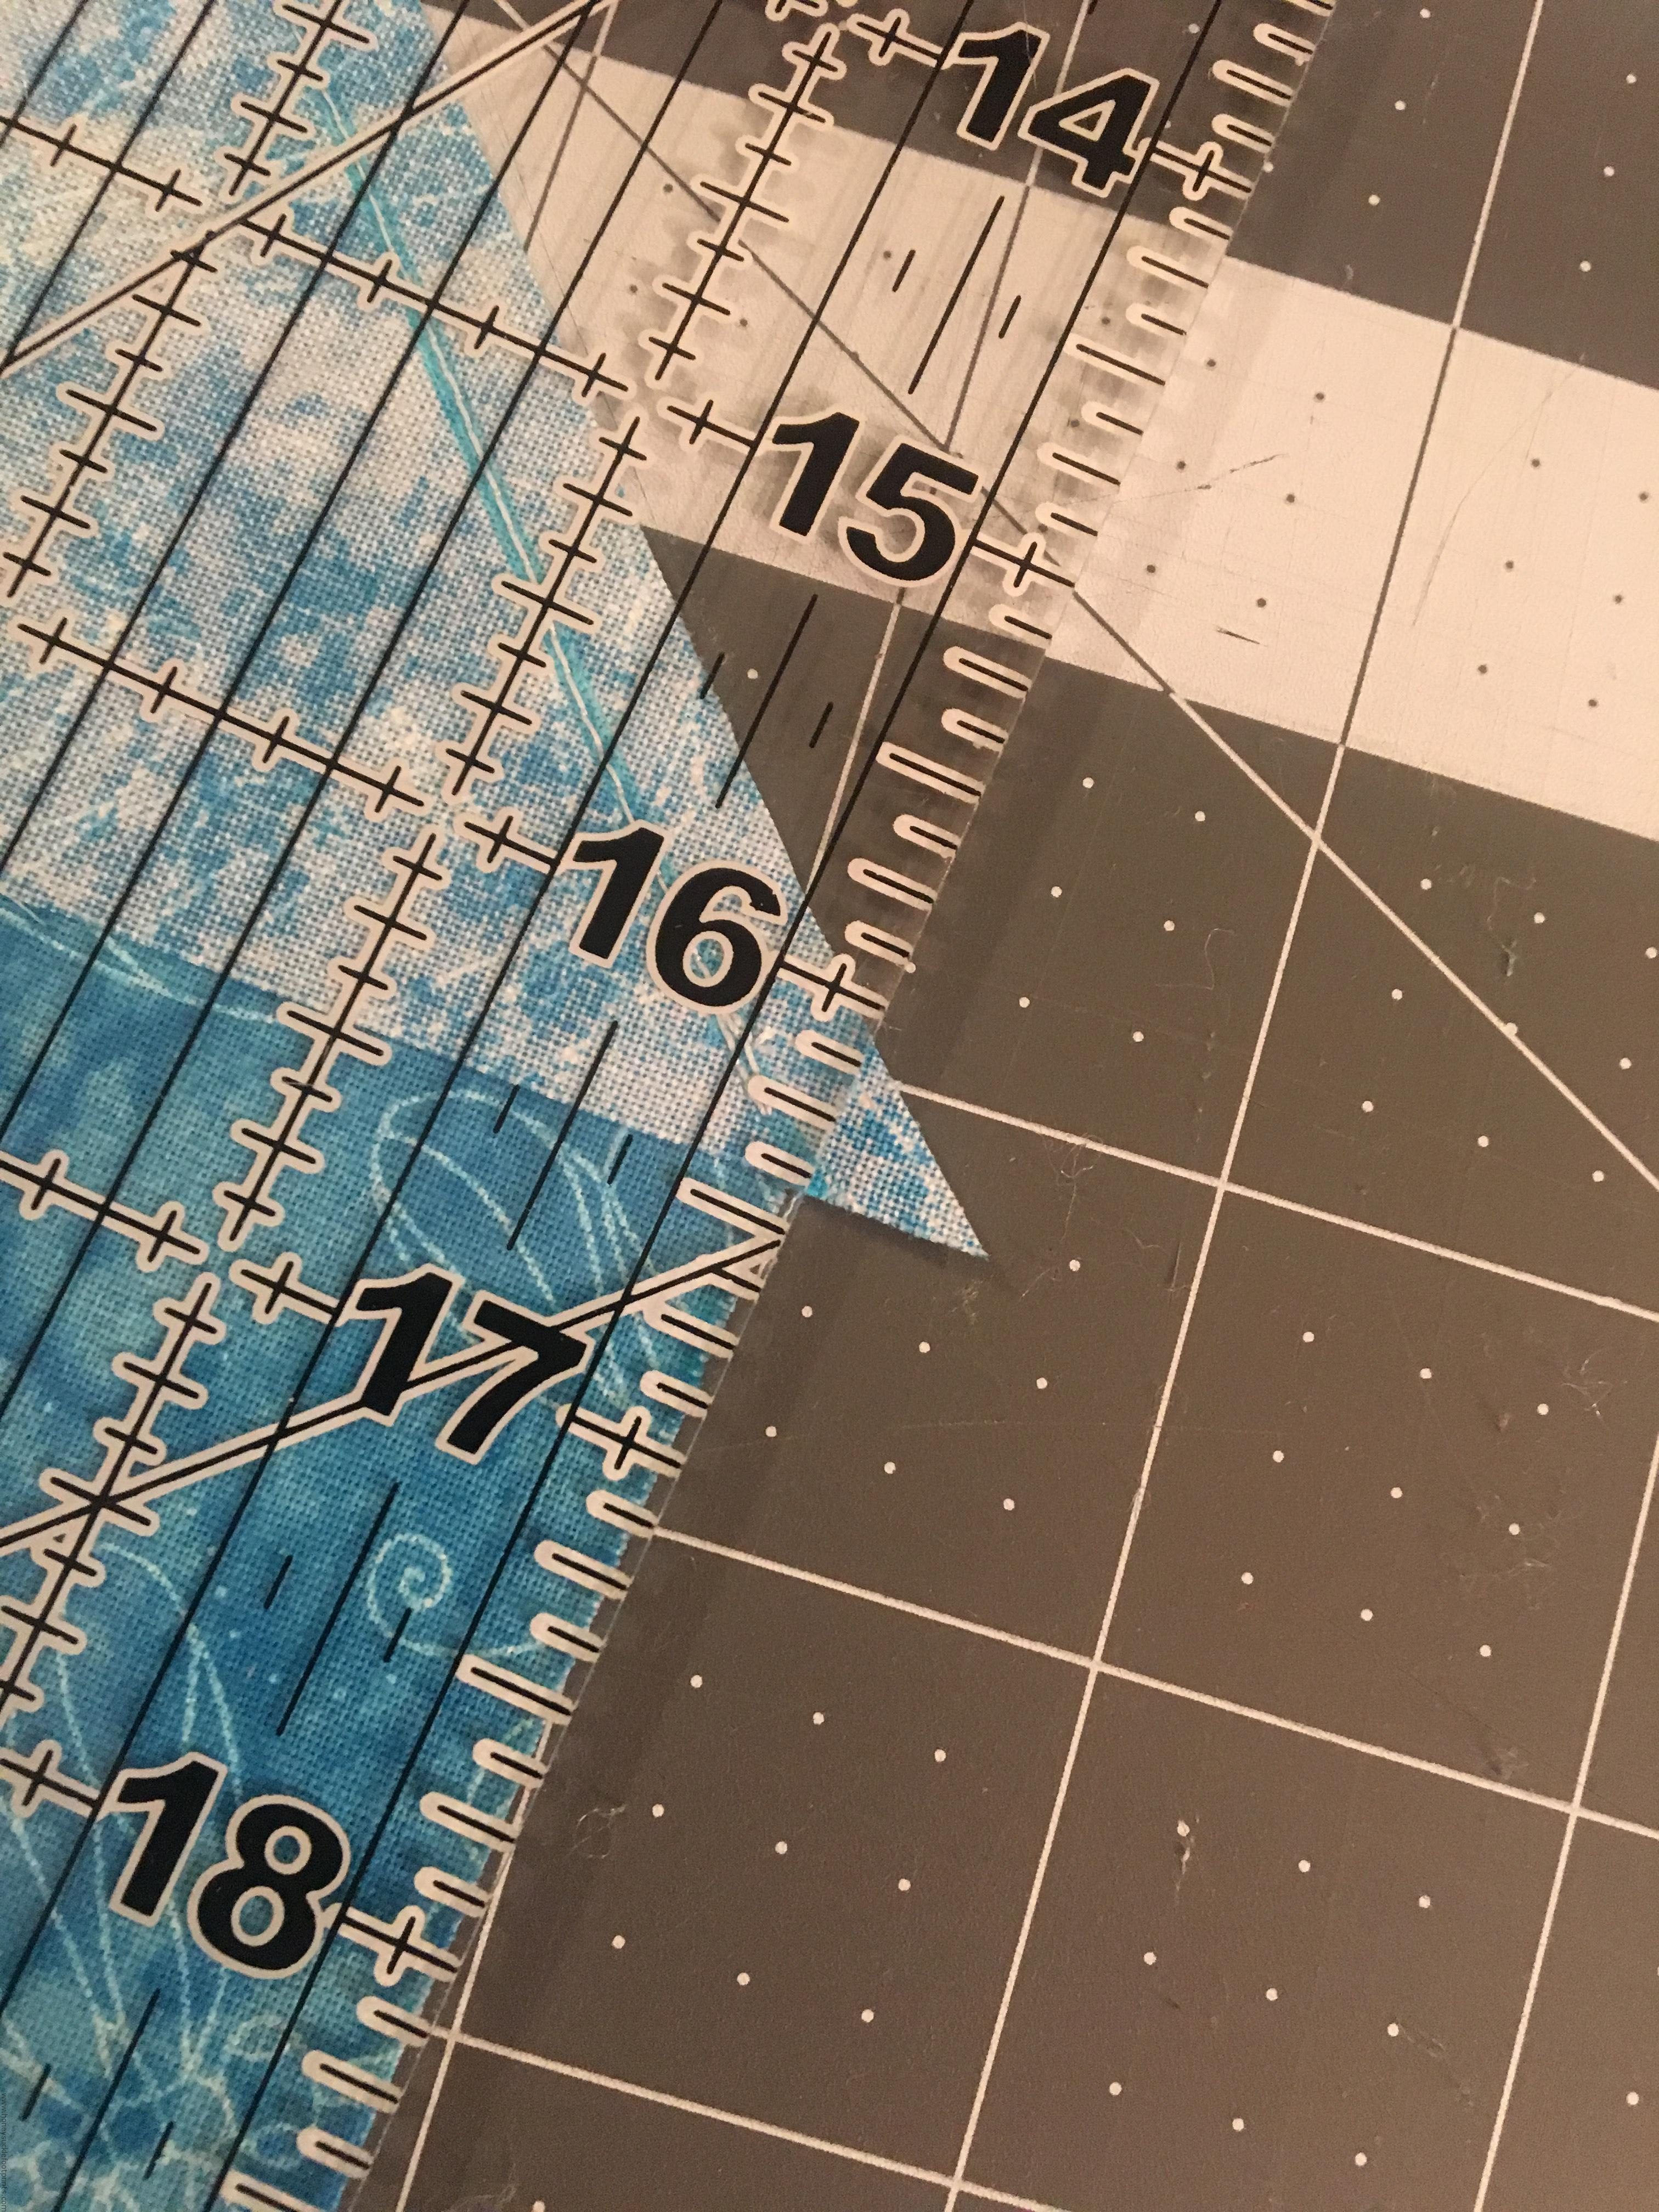
Then take a ruler or straight edge (I use my template) and with your washable fabric marker, mark a line from end to end, like picture below. You can put a pin in it to easily keep it together, or you can just hold it with your fingers. Then sew a line on your mark.


Cut off the excess, but leave about 1/4″ space from your sewing line per below picture. Don’t forget about those ends!


Repeat this process until you have one long binding strip.
Next you’ll iron your seams down. We’ll do this to keep the seam flat so it won’t be bulky. Iron them one way.


The next step is to fold our binding in half and iron it, so it’ll stay. Lay the binding face side down, fold over half way and iron.


Once your binding is folded in half, you’ll want to run it around your quilt just to be sure that you have enough binding to finish it.
Binding the Quilt
Starting in the middle of the long side of your quilt (on the back), you’ll want to leave about 5-6″ from the end to where you’ll start pinning your binding. This 5-6″ is where we’ll eventually join the binding together, but for right now this piece needs to be unsewn. You’ll match up the rough end of the binding (not the crisp ironed end) and you’ll match it to the rough edges of the quilt and pin, or clip, the binding on. This keeps everything nice and even.

When you come to the corner, we’re going to stop 1/4″ from the edge and pin it. Make sure you don’t have any seams from your binding in the corners. If you do just unpin and re-adjust to move the binding down.

Next we’re going to sew the binding on (still on the half side only) up to the corner we stopped at. Using 1/4″ seam allowances sew the binding on to the back of the quilt stopping when you get to where you pinned for the 1/4″ to the edge. Don’t forget to backstitch. Now here is where I wished I would have used a 1/2″ seam allowance. I like the look of a bulky binding and I felt like the back should have been wider. Use your own judgement here.
When you get to the corner, fold the binding over making a straight edge like below. It’s hard to see, but you’ll fold the binding on top of itself to make it straight with the top part of the quilt. Then you’ll fold it again to run along the quilt like it should.


Finish pinning this side of the quilt and begin sewing up to the next corner. Be sure to backstitch and sew 1/4″ from the corners (both starting and stopping).
Your corners will not be sewn. on both sides they’ll have a 1/4″ gap. This is where we’ll miter the corners later to have a nice finished look.
Repeat this process and sew all the way around the quilt until you get to where you started, but just as you did when you started sewing your binding on the back, you’ll leave a piece that is unsewn so we can join the binding together. Stop stitching to where you’ll leave about a 10″ piece unsewn.
Next we’re going to measure the end of the binding and cut it. This step is a little confusing. If you have any questions, please ask. First we’re going to use a piece of our binding as a template. Cut about a 2″ piece of binding from the tail and open it.

Remember the 5-6″ at the beginning of the binding that we didn’t sew? Lay the strip you just cut over the beginning binding starting at the end. Don’t use the 2″ as a measure, use the width of the binding. for instance mine is 3-1/2″. If your binding was 2-1/2″, you’ll use the 2-1/2″ side.

Next you’ll lay the end of the binding strip on top of this template we’re using the measure.

Next we’re going to cut our end of the binding strip to that template.

Scrunch the blanket up so you can work with the binding, like bringing it together. Take the end of the binding and lay it open with the unfinished side down, finished side up. Take the beginning part of the binding (the 5-6″ piece) and lay it with the finished side down (per below), forming a T. We’re going to combine this piece just as we did for making the long binding strip. Make your 45 degree marks and sew.

Fold the binding and make sure it is sewn the correct way. If so, cut off the excess just as before. Now you can finish sewing your binding on the back.

Now flip your quilt over and fold the binding over to the front and pin it all around your quilt. At the corners, we’ll be mitering them by folding one side, then folding the other side over it.


Now you can start sewing the front. I like the look of very close seams to the edge. When you come to a corner, just lift the presser foot, with the needle still down in the quilt, move the quilt to the next side, lower the presser foot and start quilting on the next side.

You can stitch up your mitered corners, I did because I like the way it looks.

When you get to where you started, backstitch. Tidy up any loose strings, and viola! you’re done! Your quilt is complete!


If you have trouble following, there is a good video tutorial here.
Sewing Machine – First and foremost you’ll need a sewing machine to quilt. I have a very old Singer sewing machine, but at some point I’d like to upgrade. The sewing machine linked above is a great machine for quilting.
Fabric – You can go to sites like Amazon.com or Joanns.com. But I really like to select my fabric in person.
Sewing Machine Needles – I generally replace my needle every time I start a new quilt. This is probably overkill, but I want to make sure my needle is perfect for every quilt and they’re inexpensive.
Sewing Thread – You’ll need a quilting grade thread for your quilt.
Self-Healing Cutting Mat & Rotary Cutter – The set I have linked here is a great starting set. It comes with the same self-healing cutting mat and rotary cutter I have.
Square Template – I like the look of the 6″ squares (with 1/4″ seams) so I use the 6-1/2″ template. You can pick whatever size you’re happy with.
Fabric Shears – Fabric Scissors are generally more sharp and give a straight cut.
Quarter Inch Presser Foot – This is optional. it is a great tool to have to help make perfect 1/4″ seams.
Batting – Batting is what is sandwiched in between your top layer and your back layer of fabric. You don’t have to use batting if you’re looking for a lighter quilt, but I like to use a thin batting to give it some extra fluff.
Quilting Pins – You’ll use A LOT of these to pin your quilt and add the backing. Stock up! I also use large safety pins too.
Basting Spray – I like basting spray because it temporarily holds my quilt together while I sew it. Not all quilters use it, but it makes things simpler I think.
Iron – Some people iron their fabric before they cut, I don’t do this. But I do iron the seams after I have sewn my rows. I use an old hand-me-down iron, but the iron I have linked is one that’s on my wishlist!
Painters Tape – When you baste your quilt you’ll want the backing to be flat on the floor so you can baste it more easily. Some people also use it on their sewing machine as a guide (kinda like a ridge so when the fabric hits it, it doesn’t go past the line) when they sew their 1/4″ seams.
Water Soluble Pen – I use this pen when I’m marking my row numbers on the back of my fabric. If you’ve got a complicated pattern you’re stitching together, this comes in handy. It washes right off the fabric when you wash the quilt.
Patience – there’s no link for this one, but you’ll need lots of patience. Don’t rush through it. Enjoy the process and making something beautiful with your hands!
